Live Captions in Microsoft Teams meeting is a somewhat hidden but very useful feature. If you are having issues understanding someone’s speech or if you have a hearing impairment, you might want to check this out. The best thing is… Live Captions are specific to you, and are not part of a meeting recording. Here’s how that works…
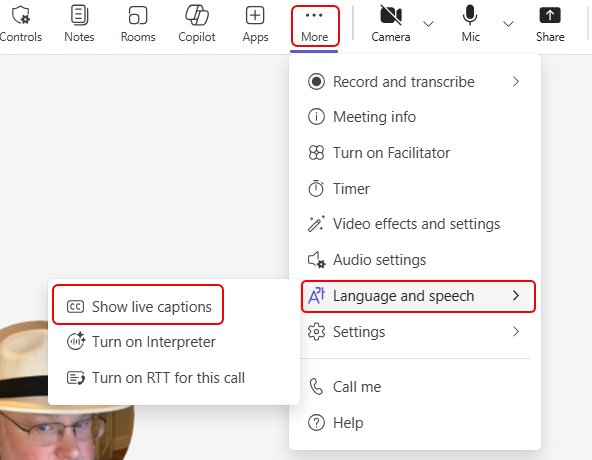
To start live captions for yourself in a meeting, use the More icon, then click on Language and speech > Show live captions:
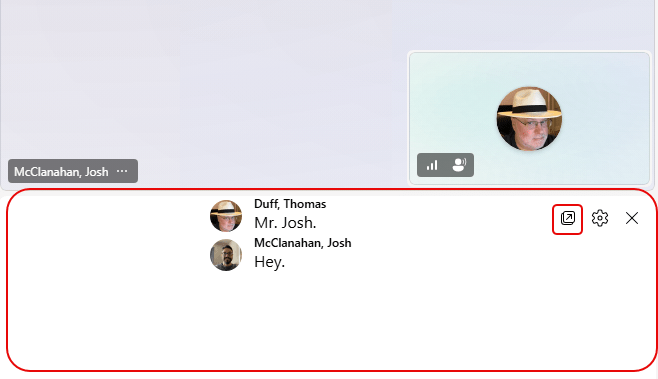
The live caption panel shows up at the bottom of the screen. You can click the Pop-out icon to put it on a separate window so you can move it around:
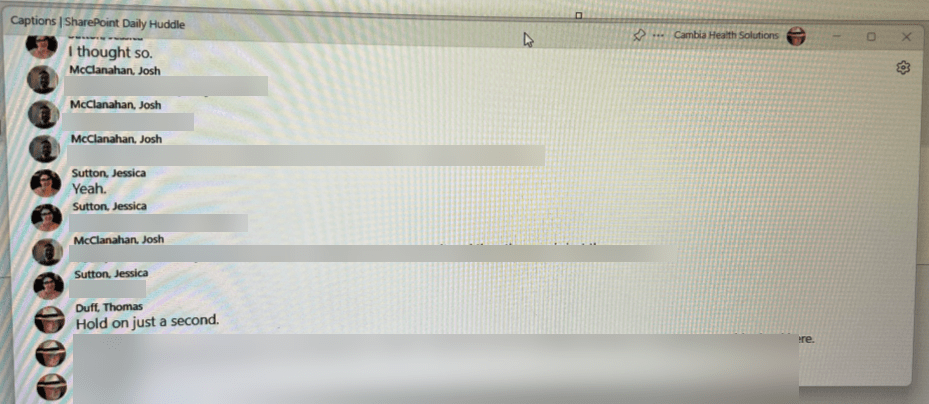
This is the pop-out window. Please forgive the poor image here, as I couldn’t get the screen capture software to leave it visible.. 🙂 :
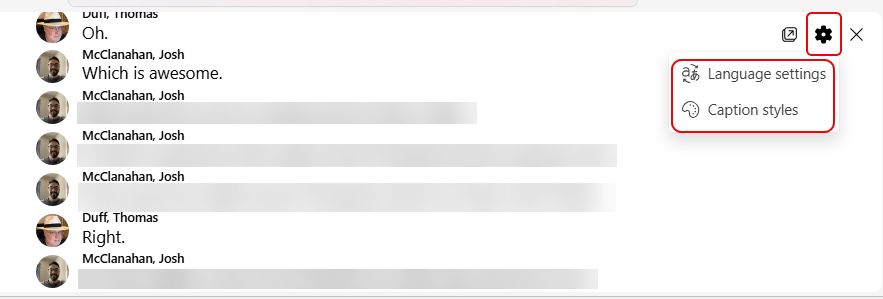
You can also adjust what the live captions look like to you by clicking on the Settings icon and selecting either Language settings or Caption styles:
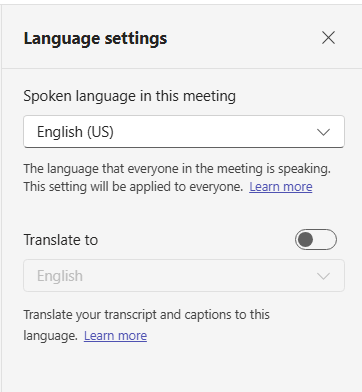
You can designate the language of the speaker in the meeting. You won’t be able to select Translate as that applies to the recorded transcript:
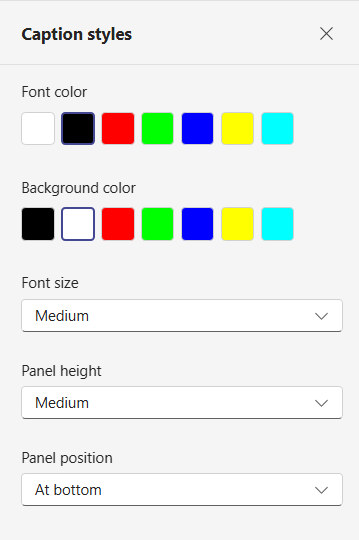
You can also change the Caption styles, such as colors, font size, panel height, and panel position:
Keep in mind that if you use this, it applies ONLY to you for the duration of that meeting. It is not part of the meeting recording and does not exist post-meeting. Live captions are a real‑time, personal accessibility feature that only exist in the moment and are not recorded.
