If you’re new to Teams or OneDrive, you may think that moving files from one place to another may involve copying it to your computer and then copying it to the target destination. However, both Teams and OneDrive come with options to copy directly from one location to another. Here’s how that works…
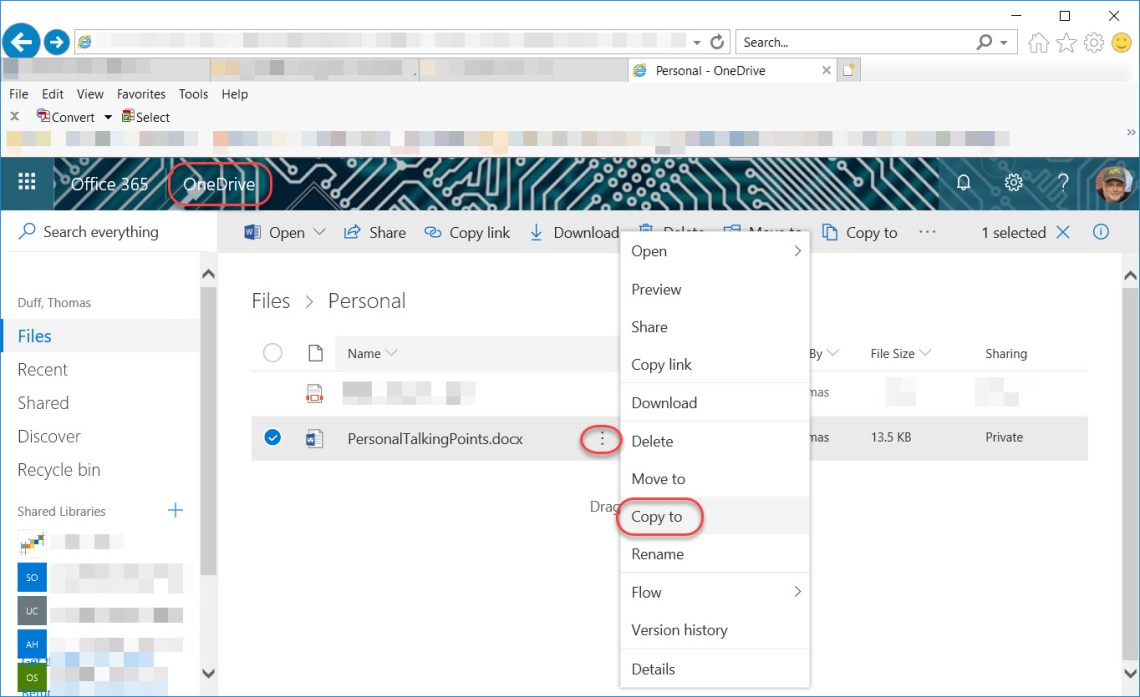
In the Teams client, I can go into the Files tab to see all the files and documents that are stored in this Teams workspace (in this case, our SharePoint Online Migration Team). I want to move the What to Use When.xlsx file somewhere else, so I click on the Ellipsis icon to get my list of options:
 In the Options list, I select Copy to add a copy of that file in some other location:

The Copy To dialog box lists the current Channel in the current Team that I’m in. However, I can click the Up Arrow next to the Channel name to work back up through the file hierarchy, and ultimately work back to the list of all the Team workspaces I have access to:
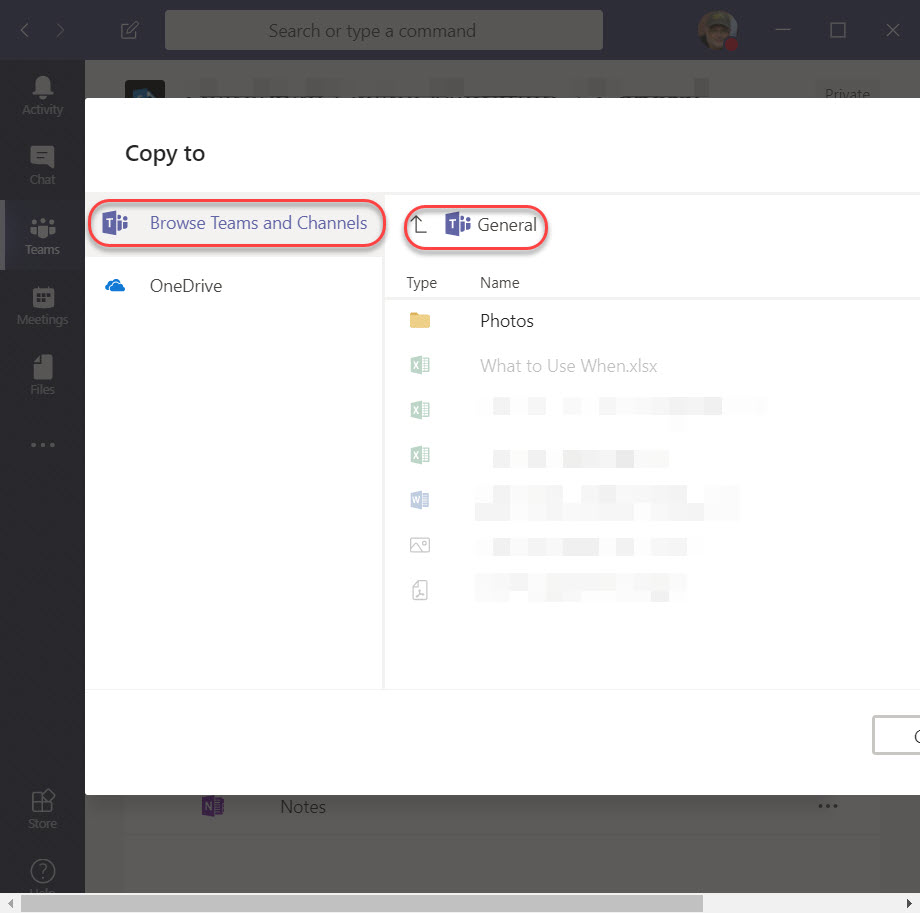
Now I can select from any Team, and drill down to the Channel folder I want to copy the file to:

Also… I can select OneDrive to head over to my OneDrive location in order to make a copy of the file there:

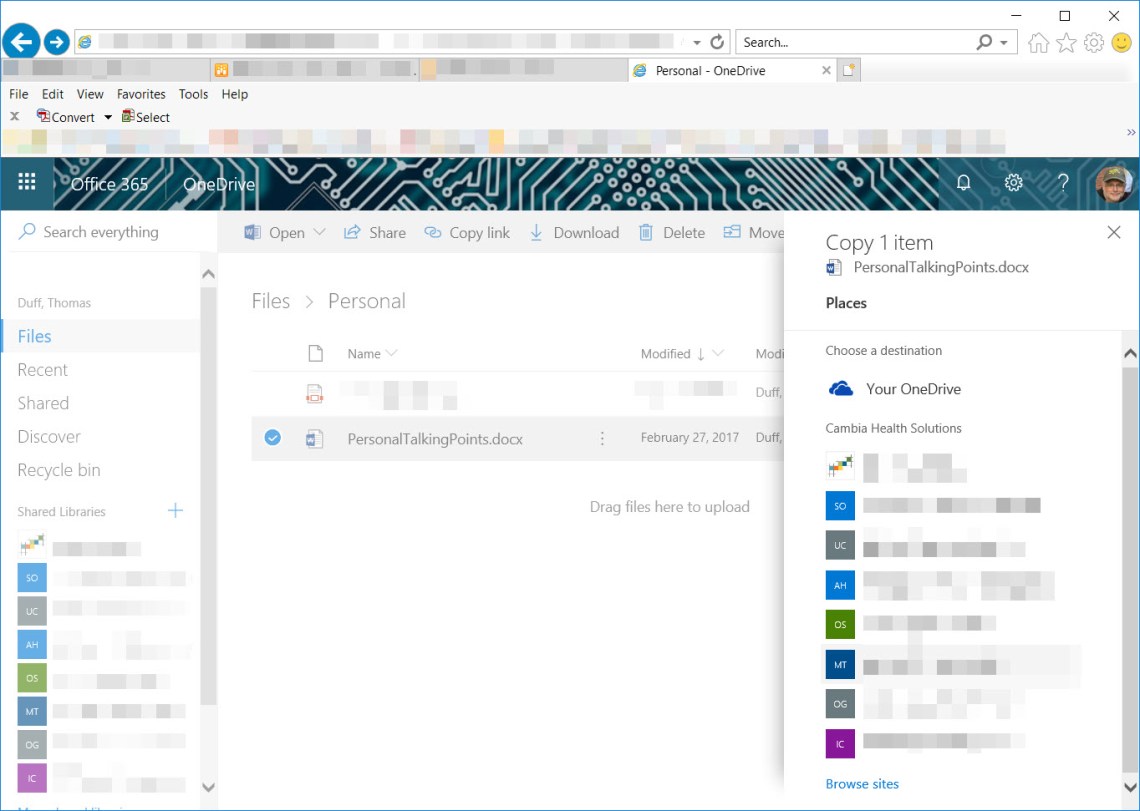
Conversely, when I’m in OneDrive, I can select the vertical Ellipsis icon, and I get the same type of Copy and Move icons:
When I select Copy, I get the option to copy somewhere else in my OneDrive space, or any of the Teams I have access to (along with any of the SharePoint Online sites I can access):