
This is a subtle tip (or at least it should be in my opinion). When you add an image into a PowerPoint slide, it normally starts out in a pretty flat state. However, you can use the Shape Effects option to add some depth to the image, and it can make your slides look a lot more professional. Here’s how to do that…
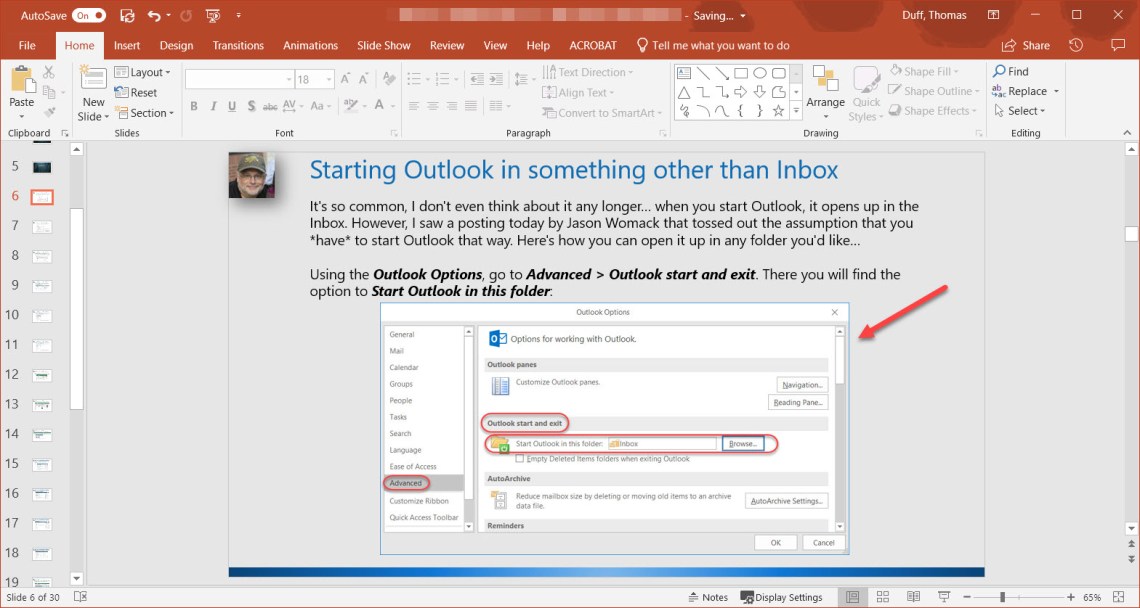
When I start out with this image, it’s flat with a small blue border. It’s functional, but it doesn’t stand out at all:
If I select the image, I can then use the Picture Tools Format > Shape Effects option to select Shadow effects for the picture:
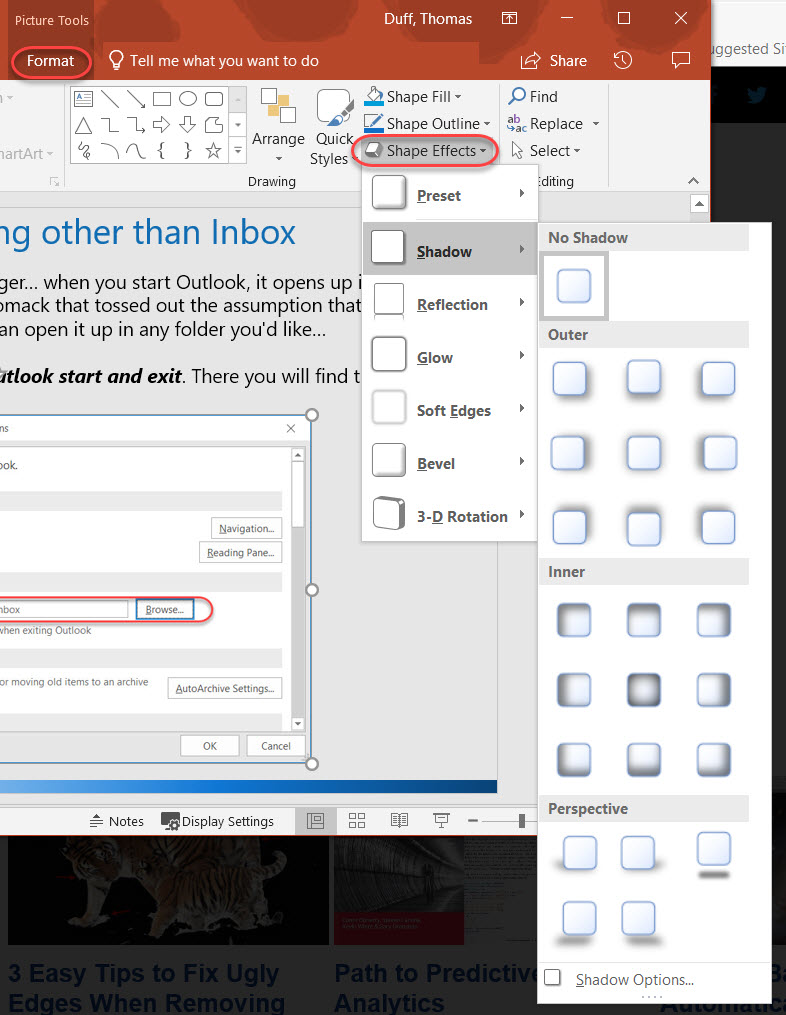
There are a number of options, such as outer shadows, inner shadows, and reflective perspectives. For my example here, I’m simply going to take the Outer Shadow that offsets to the bottom right of the image:

Now as you can see, there is a slight shadow on the image, and it has some depth to it (which makes it look more polished):

As I mentioned at the top, this is best used (in my opinion) in a subtle fashion. There are a number of Shape Effect options, and you can really do some dramatic effects. However, “dramatic” can often equal “distracting”. I would suggest that you use these features sparingly so that the attention is directed at your content, not on the use of special effects. Your audience (and your message) will thank you.
