
I heard about the Move to OneDrive feature a while back, and I’ve been waiting for it to show up in my Office 365 tenant… and now it’s there! When you have the OneDrive sync client installed, are using Windows File Explorer, and right-click on a file, you have an option to *move* it to OneDrive without having to drag and drop. Here’s how that works…
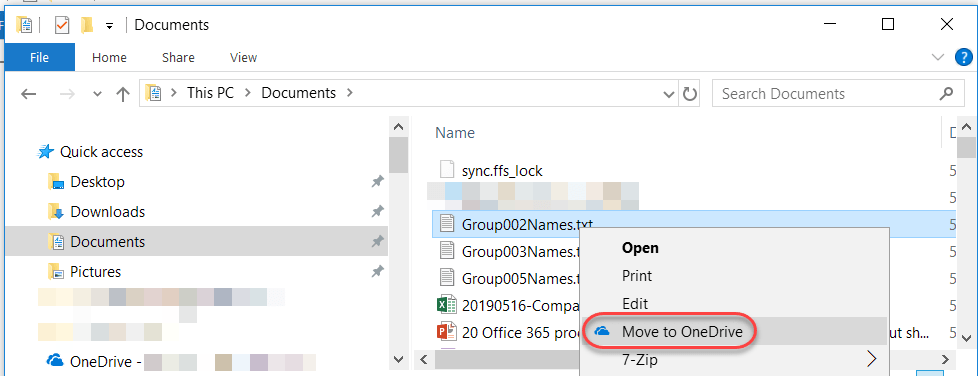
Quite simply, you just right-click on the file name, and the option to Move to OneDrive appears. It will move (not copy) the file from wherever it resides on your computer onto your OneDrive disk folder:

Once it’s in that OneDrive disk folder, it will then sync to your OneDrive space in Office 365:

I like that it moves the file instead of copying it, as it prevents the issue of having the same file residing in two places. Also, keep in mind that you need to have the OneDrive sync client in place. If you are not using the OneDrive sync client, there’s nowhere to copy the file and the option will not appear.
