OK… I haven’t lost my mind here… It is very possible that if you have a large spreadsheet that has very little data in it, you might have a large number of blank rows in one of your worksheets. Each of those “blank” cells in the “blank” rows takes up space, and it can add up rather quickly when it comes to the overall size of your spreadsheet… let me show you how to fix that.
Here was my situation. A customer had a spreadsheet that was 26 MB in size, but it had very little visible data. The one worksheet in question only had seven rows in it. But using the following technique, I discovered that the worksheet actually had over a million rows of “blank” data (that took Excel about 45 minutes to highlight!). Once I removed the blank cells, the spreadsheet slimmed down to only 356 KB. Nice savings!
Here’s my spreadsheet… to start the process, click F5:
That brings up the Go To dialog panel. Select Special:

Select the Blanks option to highlight all the blank cells in the blank rows, and then click OK:

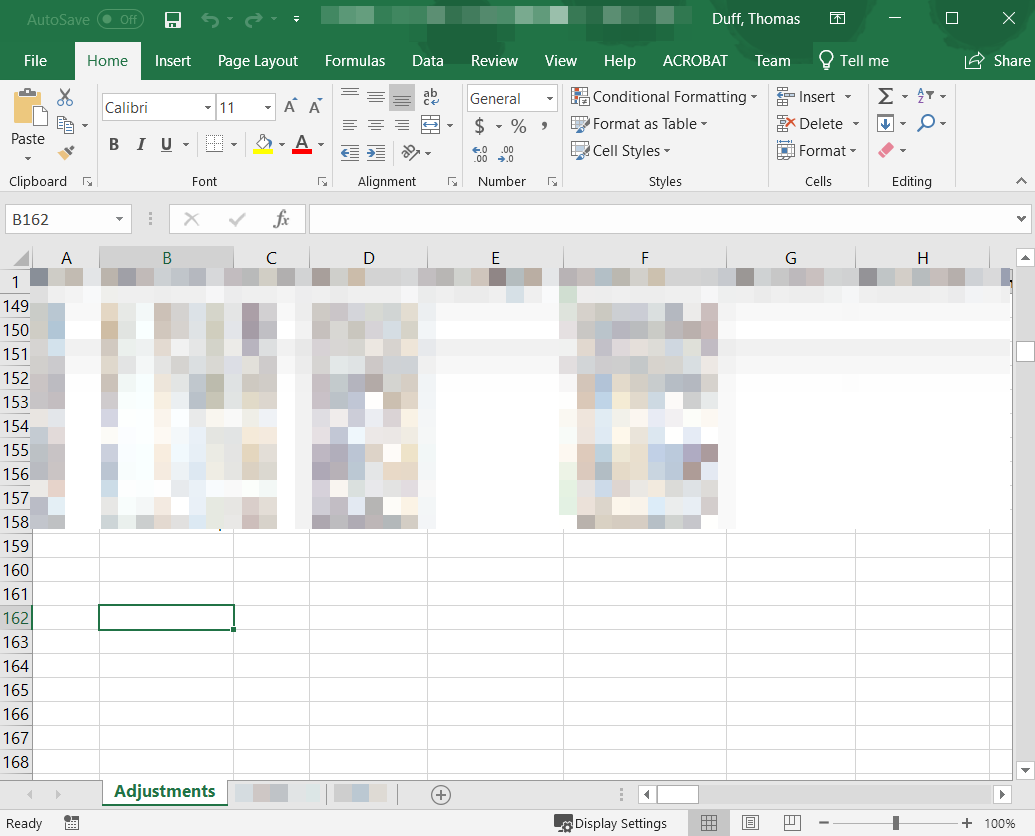
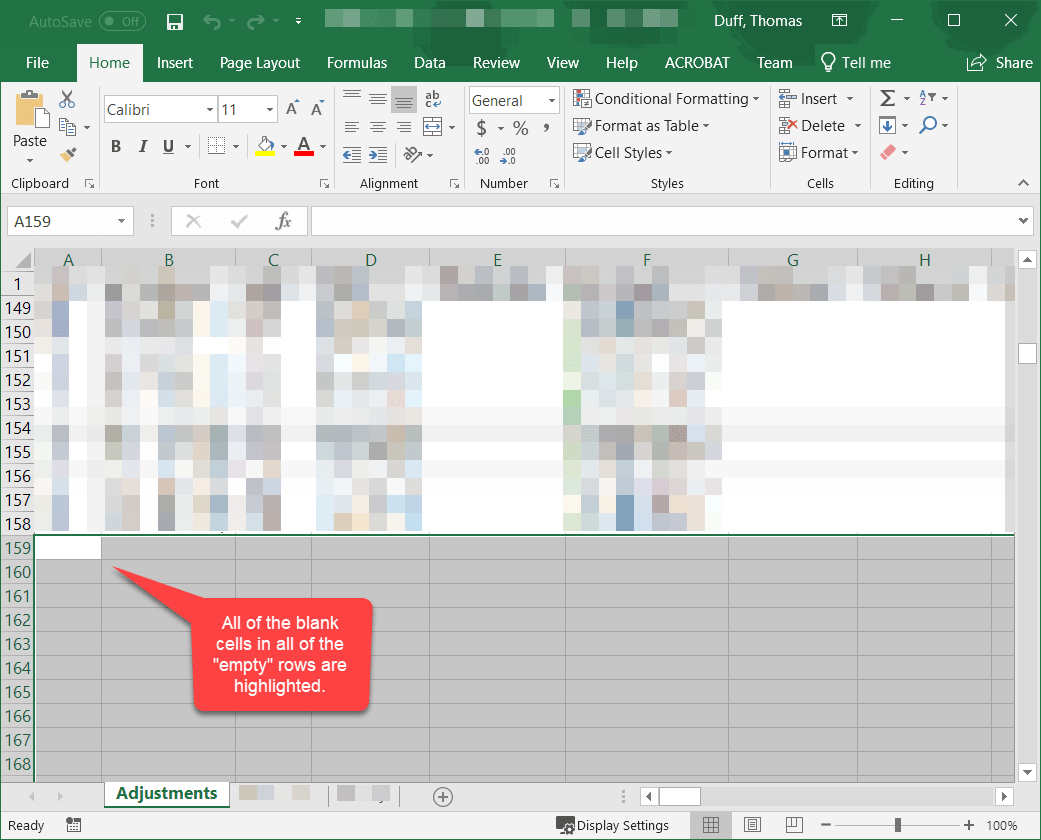
If you have any rows of blank cells, they’ll be highlighted after the end of the data in the worksheet like this:
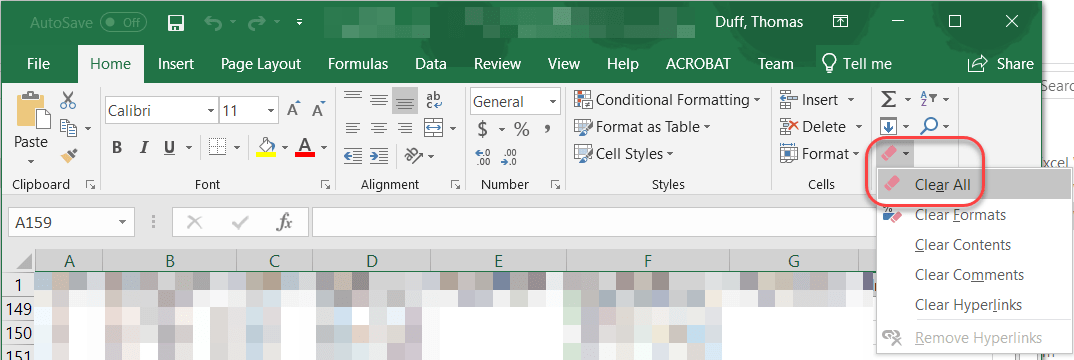
To delete the empty rows, select Home > Clear > Clear All. That will remove all the blank cells which effectively deletes all the blank rows:
Save your worksheet, and marvel at how much space you’ve saved (and how much more responsive the spreadsheet has become!)
