On occasion, you may have the need to create a calendar entry for an appointment or a meeting (like a webinar), but you may not know how to create a link that people can use to add it to their own calendar. You can do this by creating a .ics file (which means it’s in iCalendar format).
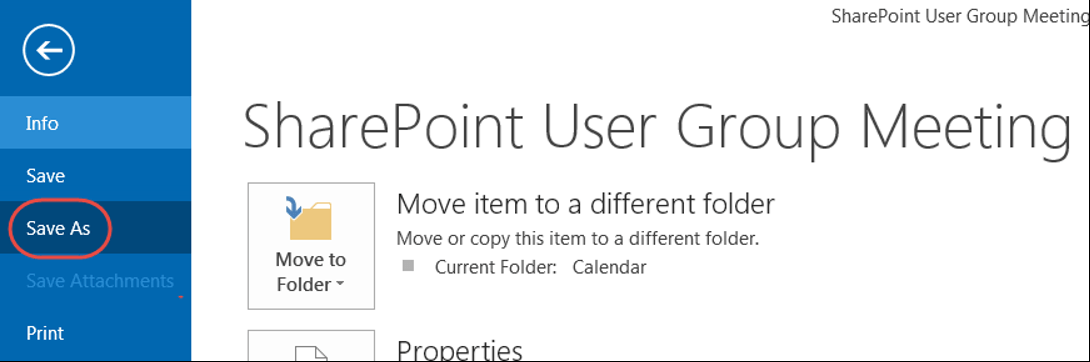
To do this, create your calendar entry like you normally would. Once it’s created, go into the calendar entry and click the File tab:

When in the File area for that calendar entry, select Save As:
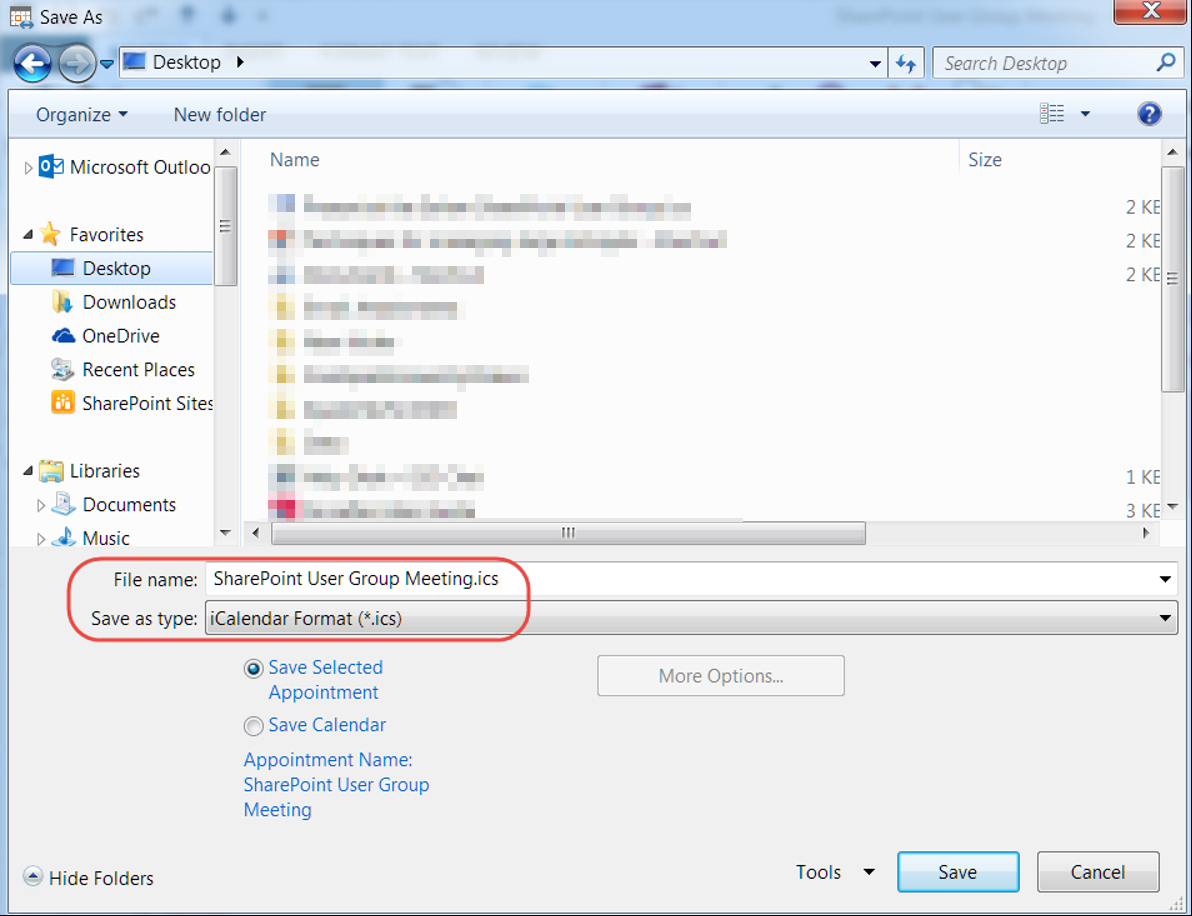
The default option to save that appointment in iCalendar format is the default, so just click Save:

Now that you have an .ics file for the appointment, you can treat it just like a normal file. You could store it in a SharePoint document library and send people the shortcut to the file (but make sure those people have access to that library first). When they click on the shortcut link, the appointment will be added to their calendar. Or, if your audience is known beforehand, you could just attach it as a file to an email. When the recipients get the email, they can click on the attachment and add the appointment.
