OneNote is one of those software tools that I can’t live without, and it seems like I discover new treasures on a regular basis. Today I discovered the OneNote Tasks feature, and it’ll now be a regular part of my OneNote experience.
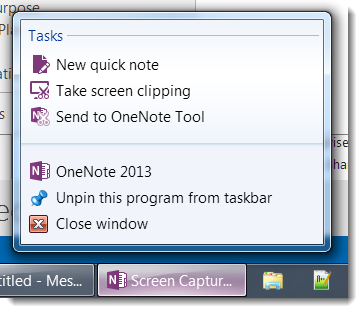
When you right-click on the OneNote icon in the Windows task bar, you’ll see the following:
The two entries I’m most interested in are the New quick note and the Take screen clipping options.
When I click on the New quick note feature, I get the following on my screen:
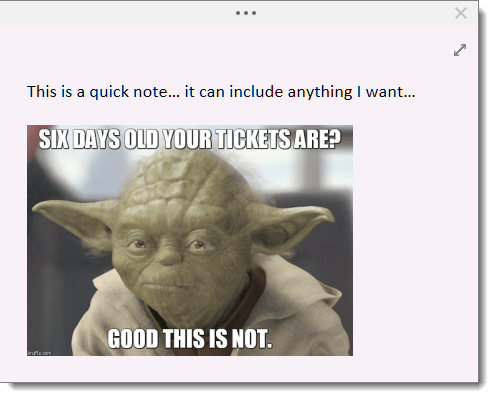
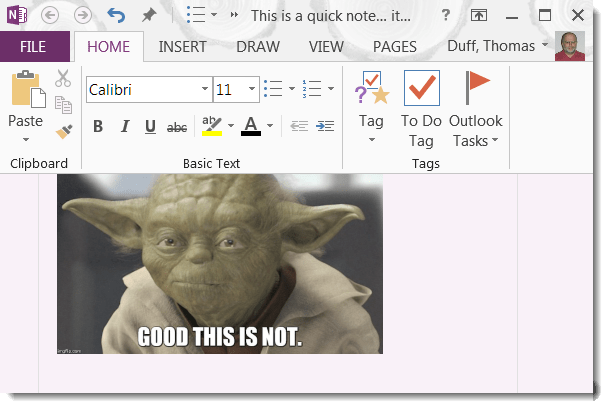
Actually, I just get a blank notepad, not Yoda. But like any OneNote page, I can put anything on the page that I want. In fact, if I click the ellipsis at the top of the page, it exposes the full OneNote page Ribbon Bar:
When I close the page, I see the following message in the Task Bar:
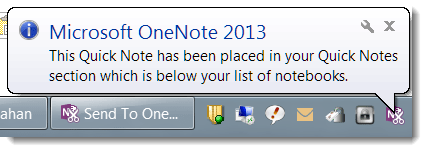
The Quick Notes you create are stored in an Quick Notes area that appears at the bottom of your list of notebooks:

The Take screen clipping option is another fast way to get images into OneNote with little effort.
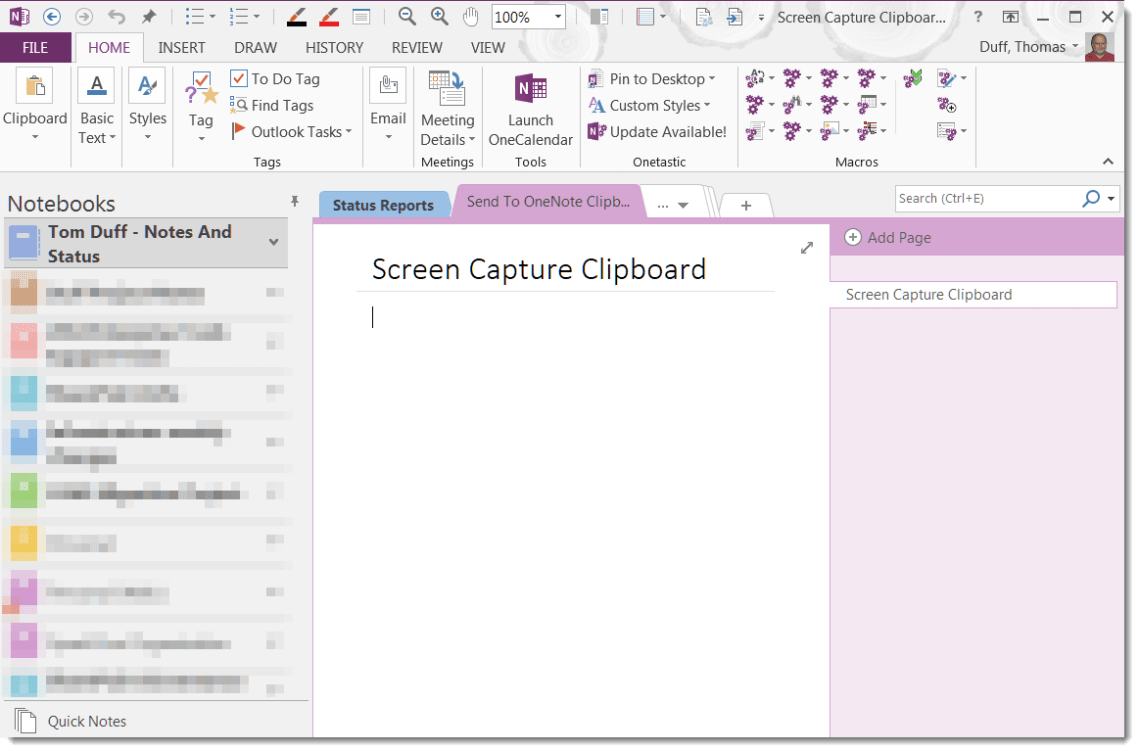
I’ve created a section in one of my notebooks for screen captures. I go into a page and place my cursor where I want the screen capture to appear:
I then go to whatever I want to capture with a screen clipping, and I right-click on the OneNote icon in the task bar. The screen turns somewhat opaque, and you can click and drag your cursor to capture the area on the screen you want to save. Once you let go of the mouse button, the outlined area is transferred to your OneNote page:
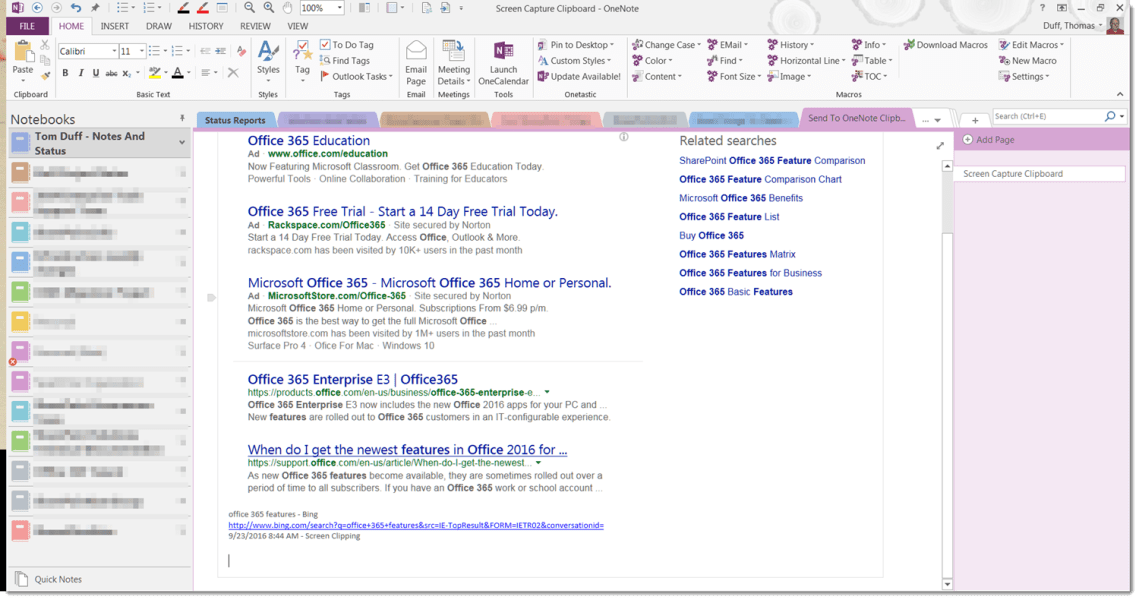
If your screen capture was part of a web browser page, it will also capture the URL of the site and add it to the bottom of the image. That’s great for being able to get back to the source of the screen capture if needed.
Once you start playing around with the OneNote Tasks, you’ll find plenty of ways to make your life easier.
