Back in the olden days, creating a new list in a SharePoint site was pretty much a case of naming a bare-bones new list and then starting to build out the list, field by field. Heaven help you if you needed some ideas on what to do to set up a list like an issue tracker… However, Microsoft has really improved the process of starting a new list by the use of templates! Here’s what that looks like…
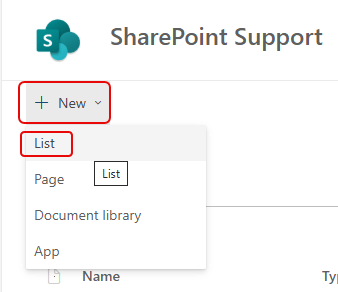
To get started, go to the Site Contents option in the SharePoint settings and select New > List:
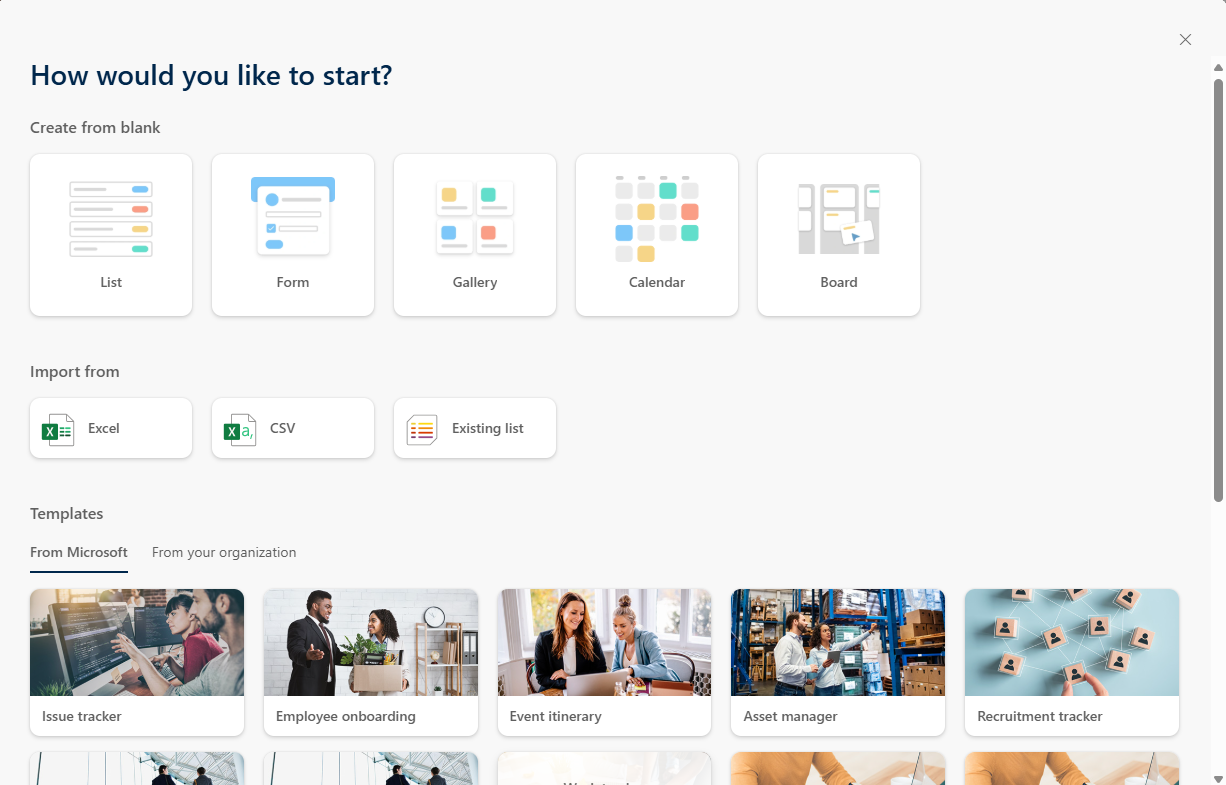
As you can see, there are a LOT of new options! You have a number of blank list options, as well as creating your list by importing from Excel, a CSV file, or an existing list:

And even more important, you can select a pre-defined template to get started:

In this example, I selected the blank Calendar option. It lets me name the list and then create it:
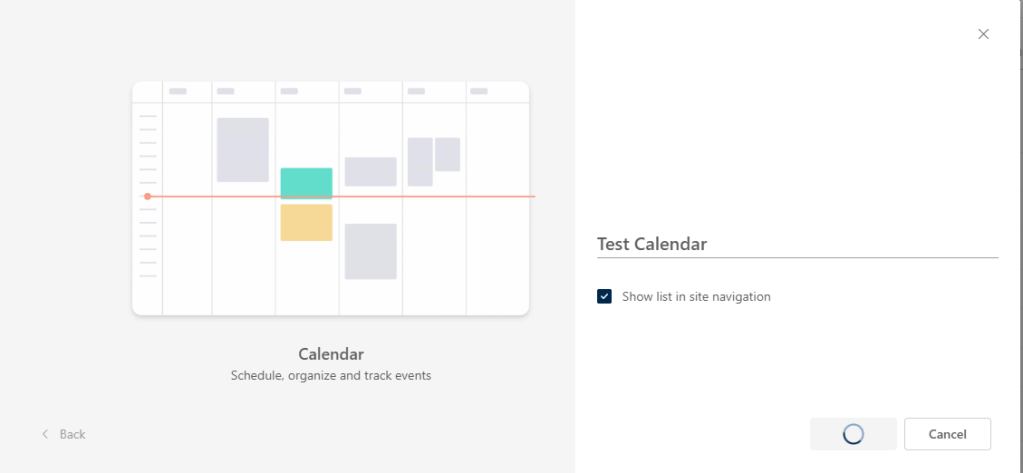
In a few seconds, I now have a SharePoint list that’s formatted in a calendar layout. PLEASE NOTE: This is not a true calendar, and it doesn’t have features like repeating entries and such. It’s just a regular SharePoint list laid out in a calendar format:

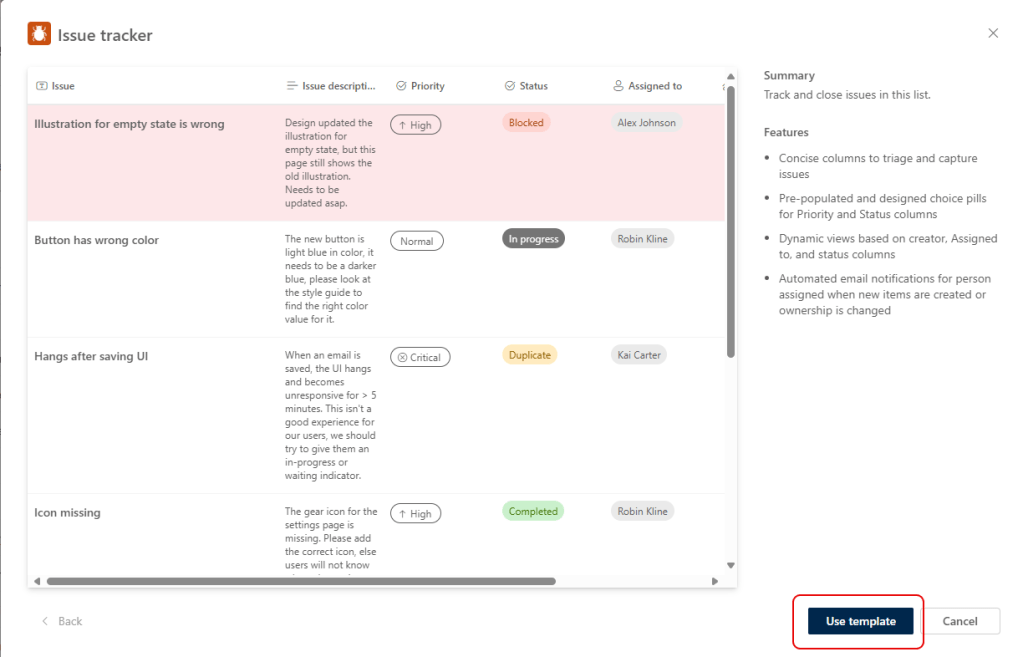
In the second example, I selected the Microsoft-provided Issue Tracker template:
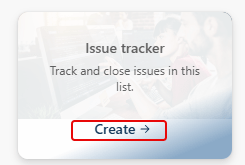
When you click on Create, it shows you what the list will look like with some sample data, as well as a description of what it does, as well as any Power Automate workflows that are included for things like notifications:
Once you click Use template, it creates the list for you along with the underlying form. You’re now ready to start:

So the main thing to remember on the templates… these are not designed to be a finished product to use out-of-the-box. It’s meant to be a starting point for you… remove the fields you don’t want, and add fields you’ll need for your particular process. It’ll get you to a finished product faster than if you were starting from scratch…
