
Not too long ago, Microsoft added some additional colors and gradients that you can use for section backgrounds on SharePoint pages. Now they’ve added one more feature that opens up a lot of possibilities… custom image section backgrounds. Here’s what that looks like and how it works…
When you are editing a page section, you’ll see the Add a background option. Click there to get the Upload image dialog screen:

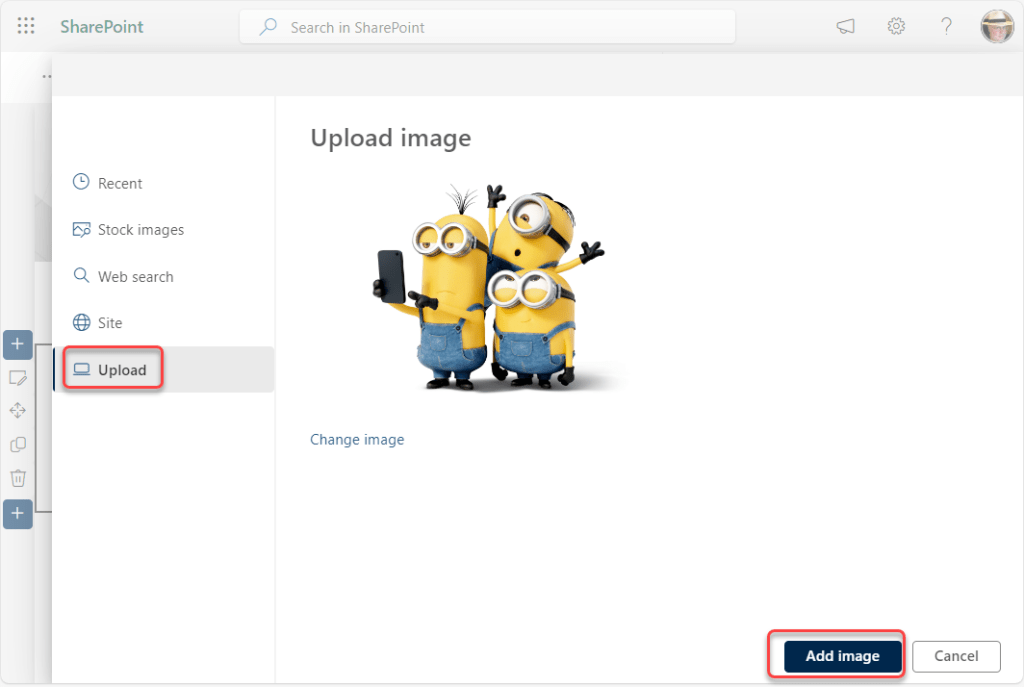
For fun, I uploaded a minion image that I want to use for the section background, and then clicked Add image:
So I’ve uploaded the image, but where is it? It’s hidden under the Overlay color (in this case, white), and the Overlay opacity is set to 100%, which means you can’t see what’s underneath the overlay color. Click on More settings to see that information:

If you change the Overlay opacity option to 0, your image will show up. Adjust that setting anywhere in between if you want more of a “faded” background image in your section:

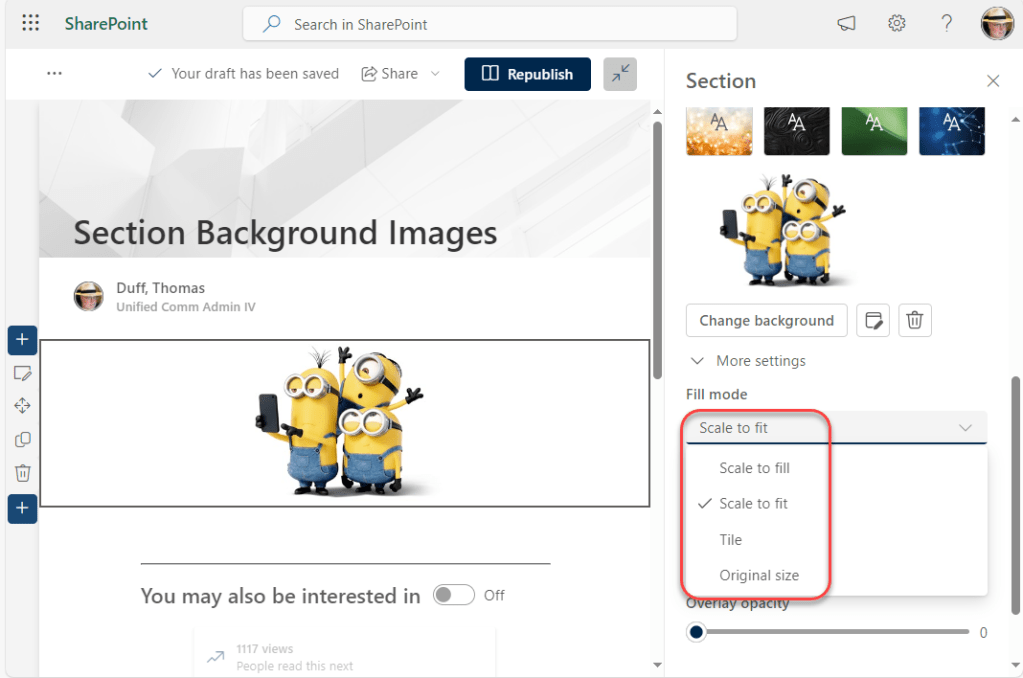
You can also choose Fill mode to designate how you want that image to show up in the section:
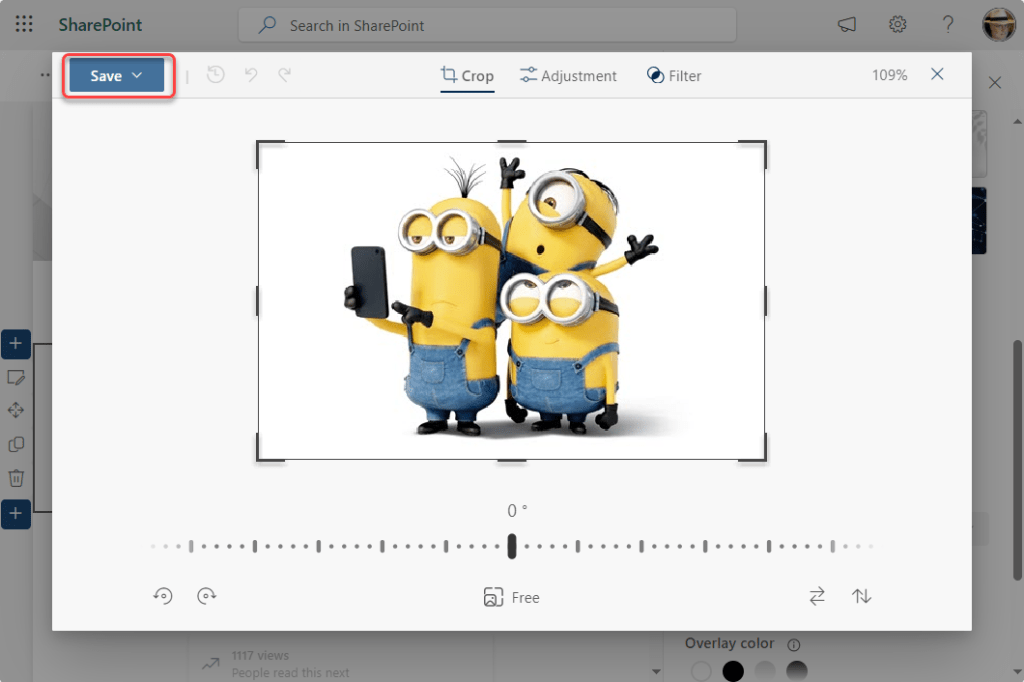
And if you need to alter the image a bit, click on the Advanced settings icon next to the Change background button in order to get some basic editing tools to modify your image:
Once you finish all that and publish your page, you’ll probably look at your section and you won’t see anything! That’s because a section won’t display if it doesn’t have any web parts associated with it. To make my section show up, I added a text web part and republished the page. Now I see my background image:

I’ll just add a caveat when it comes to this feature… just because you can doesn’t mean you should. A little goes a long ways here, and throwing a large number of random background images on a page could make it confusing and too busy.
For more information on this feature, check out Introducing the section backgrounds in SharePoint Pages and News.
