In Stream Classic, you used to have the ability to trim video content from the start and end of your recording. It was a great feature, and it disappeared when we all moved to Stream on SharePoint and OneDrive. The feature has made it back to the new version of Stream, along with a bit of additional functionality (trimming in the middle of the video!) Here’s how it works…
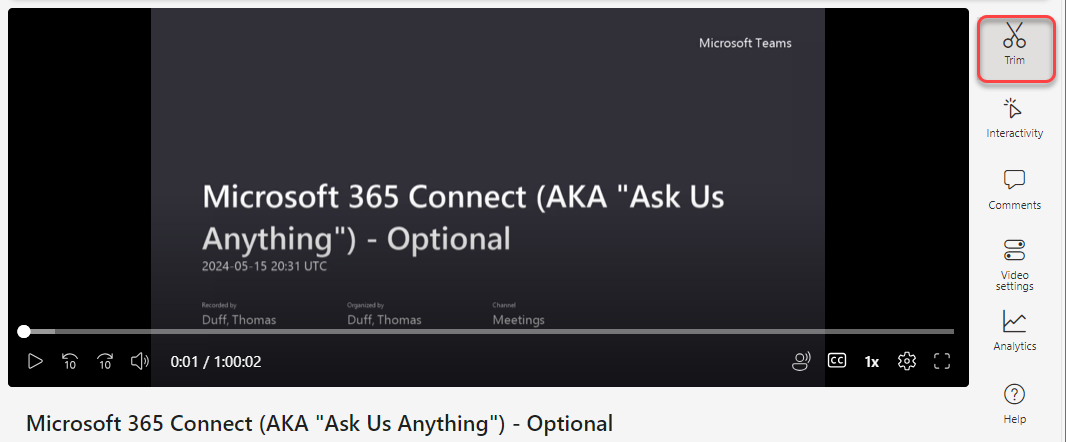
If you open a video in Stream and you have edit level access to the video, you can click on the Trim icon in order to start the trimming process:

By using the left and right trimming toggles, you can trim the start and end of the video as needed. Once you have the trim set to where you want it, you click on the Commit icon to make the trim. Keep in mind that trimming with this feature doesn’t physically cut off the start and end of the video. It simply hides those sections for people who do not have edit access to the recording. Those who have edit access to the recording would still see the trimmed portions:
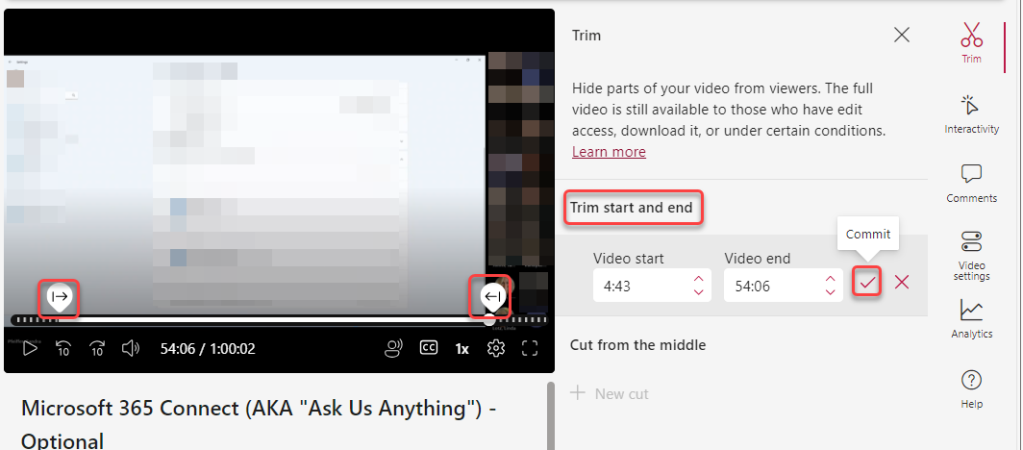
This allows you to confirm that you do want to make the trim:

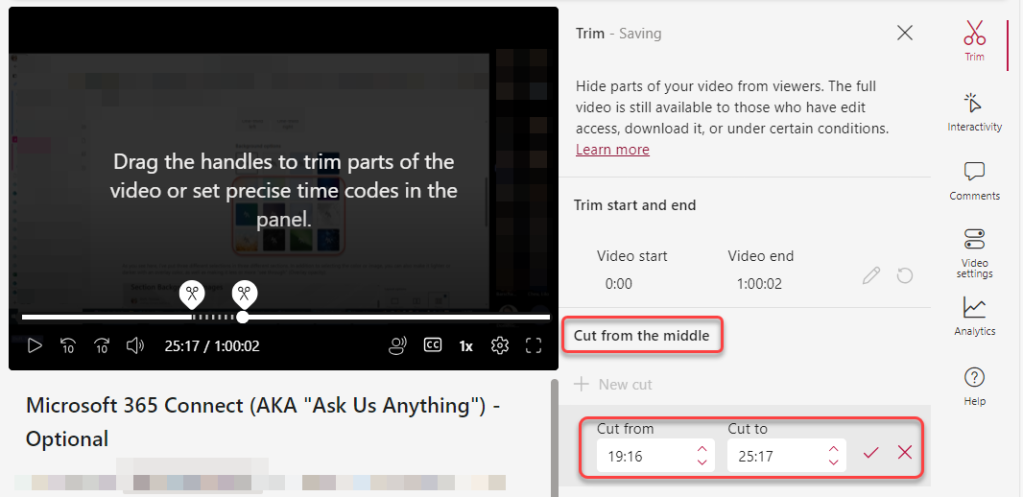
One thing that you can do now that you couldn’t do before is trim from the middle. Using the Cut from the middle option, you can set up to five mid-video cuts that will be hidden during playback:
There’s kind of a lot going on when you’re trying to trim a video, so I recommend you check out How to trim videos in Stream for more details on what you can and cannot do.
If you want to permanently remove parts of a recording, you’ll need to use the Clipchamp application in Microsoft 365 to do that. Check out the article link above to learn how that works.
